How to Change a Folder Icon on macOS

Want to personalize your folders with custom icons on macOS? Here’s a simple and effective way to do it using a free tool called folderify.
Step 1: Install folderify
Install the tool using Homebrew:
brew install folderify
Alternatively, you can follow the manual installation instructions on the GitHub page.
Step 2: Choose an SVG Icon
Go to FontAwesome icons and pick a free black icon with a transparent background. Click on it, switch to the “SVG” tab, and copy the raw SVG content.

Tip
You can also use an SVG icon from any source - not just FontAwesome. The only requirement is that it’s a valid
.svgfile. For best results, choose minimalist black icons that look good on macOS folder backgrounds.
Step 3: Convert SVG to PNG
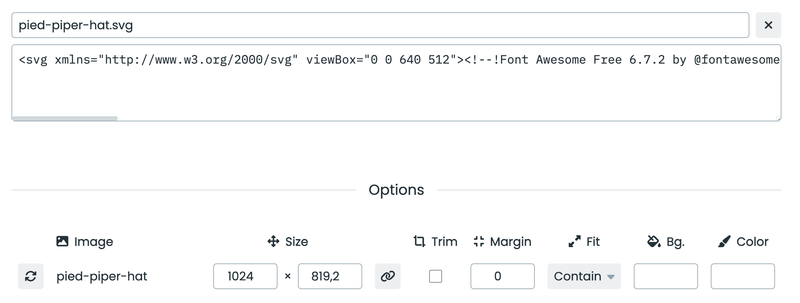
Go to this SVG to PNG converter and paste your SVG code into the editor.
Set the height to 1024. Leave the width empty - it will be calculated automatically based on the aspect ratio.
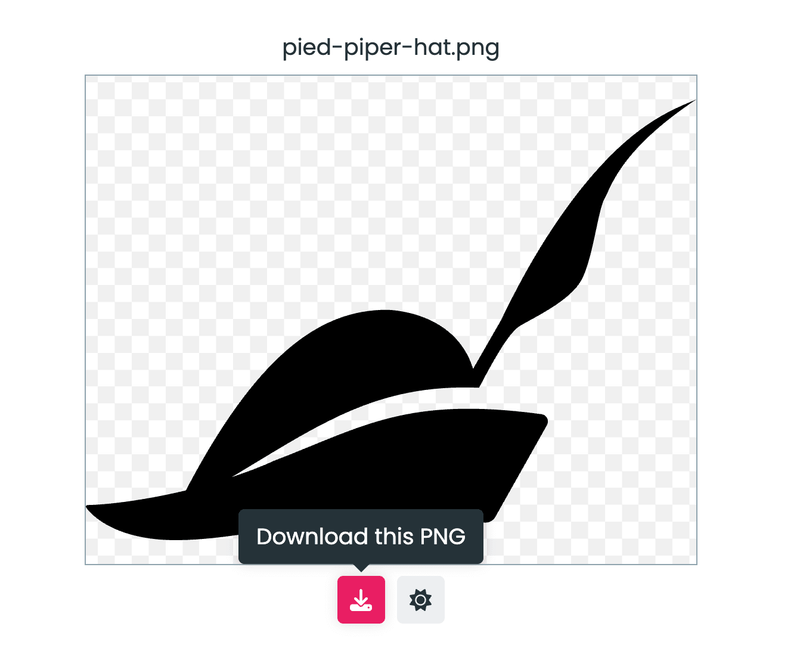
Click “Download this PNG” and save the image locally.
Step 4: Apply the Icon to a Folder
Now use folderify to apply your icon:
folderify ~/Downloads/pied-piper-hat.png path/to/your/folder
After a moment, the folder will display your custom icon:
