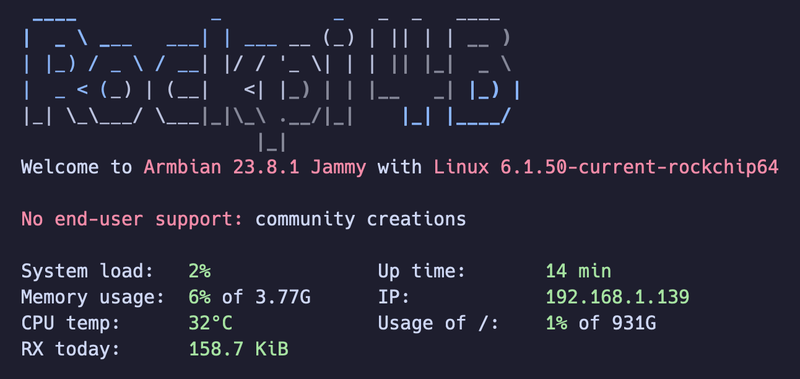
Installing Armbian on Rock Pi 4B with NVMe SSD

In this blog post, we’ll walk you through the process of installing the latest version of Armbian on a Rock Pi 4B device. Our goal is to install the system on an NVMe SSD, which requires U-Boot firmware.
Currently, newer versions of Armbian do not have a maintainer for Rock Pi 4B, leading to some issues with the U-Boot firmware. To work around this, we’ll use U-Boot from an older version of Armbian.
What You’ll Need
- Rock Pi 4B
- Micro SD card
- NVMe SSD
- USB adapter for Micro SD
- USB adapter for NVMe SSD
- Balena Etcher software (for writing the image)
Preparing Your Micro SD Card
We’ll start by installing an older version of Armbian on the Micro SD card because newer versions have issues with U-Boot. This older version will be used solely to install the older U-Boot firmware.
- Download the image Armbian 21.08.1 “Focal”.
- Connect the Micro SD card to your computer using a USB adapter.
- Open Balena Etcher.
- Select the downloaded image.
- Choose the Micro SD card as the target device.
- Click “Flash!” and wait for the process to complete.
Writing the Image to NVMe SSD
Next, we’ll write the Armbian image to the NVMe SSD.
- Download the latest Armbian image.
- Connect the NVMe SSD to your computer using a USB adapter.
- Open Balena Etcher.
- Select the downloaded image.
- Choose the NVMe SSD as the target device.
- Click “Flash!” and wait for the process to complete.
Handling Pre-installed U-Boot
If U-Boot is already installed in the SPI Flash, follow these steps:
- Short pins 23 and 25 on the Rock Pi 4B to boot Armbian from the Micro SD card.
Add the following lines to
/boot/armbianEnv.txt:overlays=spi-jedec-nor param_spinor_spi_bus=1- Reboot the device.
- Once the device has fully booted, disconnect pins 23 and 25.
Enable spi-nor by running the following command as root:
echo spi1.0 > /sys/bus/spi/drivers/spi-nor/bindVerify that the SPI mtd interface is enabled by running:
ls /dev/mtdblock0
Note
If the last command does not display any files, something went wrong between steps 2 and 4.
Flashing SPI to Work with Armbian on NVMe
Finally, we’ll update the bootloader on the SPI Flash to ensure Armbian works seamlessly with the NVMe SSD.
- Run nand-sata-install.
- Select the option: “Install/Update the bootloader on SPI Flash”.
- Confirm that you want to flash it by selecting “Yes”.
- Wait about 60 seconds for the writing to complete.
- Select “Exit”.
- Power off the device, remove the Micro SD card, and reboot.
- Enjoy booting Armbian using SPI and NVMe.
By following these steps, you should have a fully functional Armbian system running on your Rock Pi 4B with an NVMe SSD.