Secure SSH Keys with Secure Enclave on macOS
Using Secure Enclave on macOS to store SSH keys offers a high level of security, as the private key is kept in an isolated hardware environment that remains inaccessible even if the system is compromised. This article explains how to configure SSH keys with Secure Enclave using the Secretive app, while also addressing limitations, troubleshooting, and alternative solutions.
Requirements
- Mac with Secure Enclave support (Models with T2, M1, M2, or newer chips).
- macOS 10.14 (Mojave) or later.
- Basic knowledge of SSH and terminal usage.
Important
Keys created within the Secure Enclave are tied to the specific device and cannot be copied, transferred, or recovered. If you change your Mac, you must create new keys.
What is Secure Enclave?
The Secure Enclave is a dedicated security co-processor integrated into Apple devices, providing hardware-level protection for sensitive data such as biometric information and cryptographic keys. It uses a separate execution environment to ensure keys cannot be accessed or extracted, even by the operating system or through physical attacks. This makes it an ideal place to store private SSH keys.
Creating SSH Keys with Secure Enclave
1. Installing Secretive
Install Secretive via Homebrew:
brew install secretive
Or download it from the official GitHub repository.
2. Generating a New Key
- Open the Secretive app.
- Click the “+” button and follow the prompts.
- Optionally, configure authentication via Touch ID or Apple Watch for additional security.
3. Exporting the Public Key
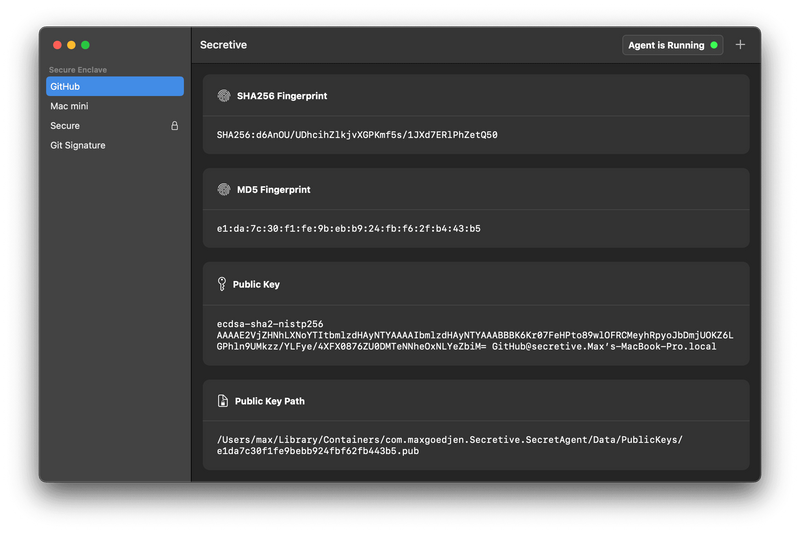
After generating the key, Secretive will display the public key. Copy it and add it to your ~/.ssh/authorized_keys file on remote servers or to your preferred services such as GitHub.
Configuring SSH to Use Secure Enclave Keys
1. Verifying SSH Agent
Ensure the Secretive app is running and its agent is active.
2. Updating SSH Configuration
Add the following lines to your ~/.ssh/config file:
Host *
  IdentityAgent ~/Library/Containers/com.maxgoedjen.Secretive.SecretAgent/Data/socket.ssh
This configures SSH to use the Secretive agent for all connections.
3. Testing the Connection
ssh user@server
You should be prompted to confirm the connection via Touch ID or Apple Watch if enabled.
Benefits of Using Secure Enclave
- High Security: The private key is hardware-protected and cannot be extracted.
- Convenience: Authentication via Touch ID or Apple Watch instead of entering a password.
- Visibility: Secretive notifies you whenever a key is used, aiding in the detection of suspicious activity.
Limitations and Important Considerations
- Device Lock-In: Keys are tied to your specific Mac and cannot be transferred or backed up. You must regenerate keys if you switch devices.
- Key Type Restriction: Secure Enclave only supports 256-bit ECDSA keys, which may not be compatible with older systems or services that require RSA keys.
- Third-Party Dependency: Usage requires third-party tools like Secretive, which may introduce compatibility issues with future macOS updates.
- Performance: In rare cases, authentication delays can occur. Ensure your device is responsive when authenticating.
Comparison with Alternatives
| Feature | Secretive (Secure Enclave) | YubiKey | Standard SSH Keys |
|---|---|---|---|
| Hardware Security | ✅ | ✅ | ❌ |
| Compatibility | Limited to ECDSA | Wide (RSA, ECDSA, etc) | Broad |
| Transferability | ❌ | ✅ | ✅ |
| Biometric Support | ✅ (Touch ID / Apple Watch) | ❌ | ❌ |
| Performance | ✅ (Slightly slower) | ✅ | ✅ |
Conclusion
Using Secure Enclave to store SSH keys on macOS significantly enhances security by leveraging hardware isolation. While Secretive provides a convenient way to manage these keys, users should be aware of the limitations and potential compatibility issues. For most macOS users, this setup offers a robust balance between convenience and security.