First Boot of Armbian on Rock Pi 4B
This guide focuses on additional software setup and optimization for the Rock Pi 4B running Armbian. If you’re just starting, check out Optimizing your first Armbian setup guide to get your system ready before diving into advanced tweaks.
Installing Software for ROCK Pi 23W PoE HAT
To fully utilize the ROCK Pi 23W PoE HAT, you’ll need to install some additional software. Here’s how:
Install necessary packages to build the mraa library:
apt update && \
  apt -y install git build-essential swig4.0 python3-dev libnode-dev cmake libjson-c-dev
Download the “user overlay” from Radxa:
mkdir -p /boot/overlay-user
cd /boot/overlay-user
curl -sL https://rock.sh/rockpi-poe-dtbo -o rockpi-poe.dtbo
Update
/boot/armbianEnv.txt:Add the following line to enable the overlay:
user_overlays=rockpi-poeCompile and install mraa packages:
cd ~
git clone https://github.com/eclipse/mraa
mkdir mraa/build
cd mraa/build
cmake .. \
  -DPYTHON3_INCLUDE_DIR=$(python3 -c "import sysconfig; print(sysconfig.get_path('include'))") \
  -DPYTHON3_LIBRARY=$(python3 -c "import sysconfig; print(sysconfig.get_config_var('LIBDIR'))")
make -j7 # Adjust based on available cores+1
make install
ldconfig
Install the PoE package from Radxa:
cd /tmp
wget https://cos.setq.me/rockpi/deb/rockpi-poe-0.13.deb
dpkg -i rockpi-poe-0.13.deb
systemctl enable rockpi-poe.service
Reboot the device:
rebootAfter the reboot, the fan should spin rapidly and then slow down, indicating that it is working correctly.
Check the service status:
Run the following command to ensure the service is active:
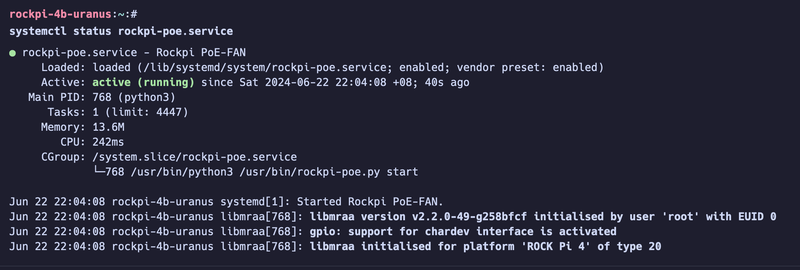
systemctl status rockpi-poe.serviceYou should see an output similar to this:
● rockpi-poe.service - Rockpi PoE-FAN
     Loaded: loaded (/lib/systemd/system/rockpi-poe.service; enabled; vendor preset: enabled)
     Active: active (running) since Sat 2024-06-22 21:24:47 +08; 3min 8s ago
   Main PID: 11117 (python3)
      Tasks: 1 (limit: 4447)
     Memory: 4.6M
        CPU: 182ms
     CGroup: /system.slice/rockpi-poe.service
             └─11117 /usr/bin/python3 /usr/bin/rockpi-poe.py start
Enable PCIe Gen2 mode to get maximum NVMe speed
By default, the PCIe controller on the Rock Pi 4B operates in Gen1 mode (2.5 GT/s) to ensure maximum compatibility. However, if your NVMe drive is stable, you can enable Gen2 mode (5.0 GT/s) to nearly double the bandwidth, significantly boosting read/write performance.
Step 1: Enable the overlay
Edit /boot/armbianEnv.txt and add:
overlays=rk3399-pcie-gen2
Important
Make sure you’re not including the
rockchip-prefix manually, as it’s added automatically viaoverlay_prefix=rockchip.
Then reboot your Rock Pi 4B:
sudo reboot
Step 2: Verify PCIe Gen2 is active
After reboot, run:
dmesg | grep -i pcie
Look for output similar to:
pci 0000:01:00.0: 16.000 Gb/s available PCIe bandwidth, limited by 5.0 GT/s PCIe x4 link at 0000:00:00.0
This indicates that Gen2 mode is successfully enabled and the PCIe link is now running at 5.0 GT/s, rather than the default 2.5 GT/s.
Performance comparison (before vs after)
You can benchmark the NVMe read speed using fio:
fio --name=read_test --filename=/dev/nvme0n1 --direct=1 --rw=read --bs=1M --size=1G --numjobs=1 --time_based --runtime=10s --group_reporting
🔻 Before enabling Gen2:
READ: bw=577MiB/s (605MB/s), io=5772MiB, run=10s
🔺 After enabling Gen2:
READ: bw=939MiB/s (985MB/s), io=9393MiB, run=10s
This shows a ~63% increase in sequential read performance, thanks to the doubled PCIe link speed.
By enabling Gen2 mode, you unlock the full potential of your NVMe SSD on the Rock Pi 4B - ideal for faster boot times, quicker file transfers, and overall snappier performance.