Optimizing your first Armbian setup
Setting up Armbian can be straightforward when approached systematically. This guide will walk you through the essential setup steps, including new tips and additional recommendations.
First Login and Initial Setup
Log in as
root: Use the default credentials:- Username:
root - Password:
1234
Follow the prompts to:
- Set up a new user.
- Configure the timezone and locale.
- Choose your preferred shell.
- Username:
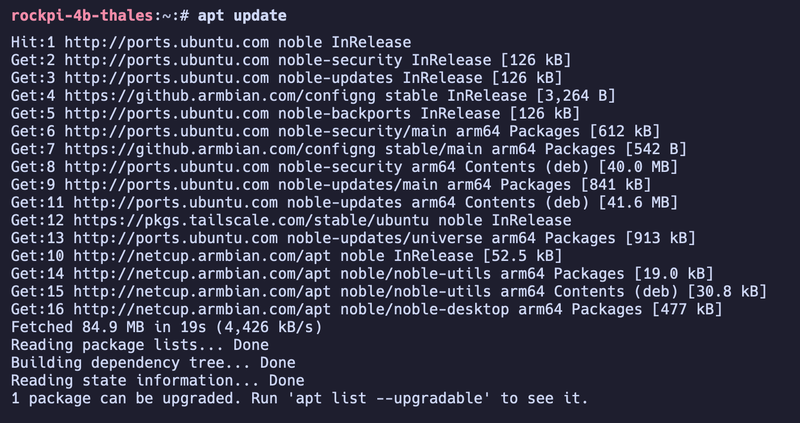
Update Packages: Keeping software up-to-date is crucial:
apt update && apt upgrade -y
Changing the Hostname
Customizing your hostname makes network identification easier:
hostnamectl set-hostname <new-hostname>
Transitioning to networkd
To switch your network management to networkd, you’ll need to adjust your network configuration and ensure the appropriate services are enabled and running.
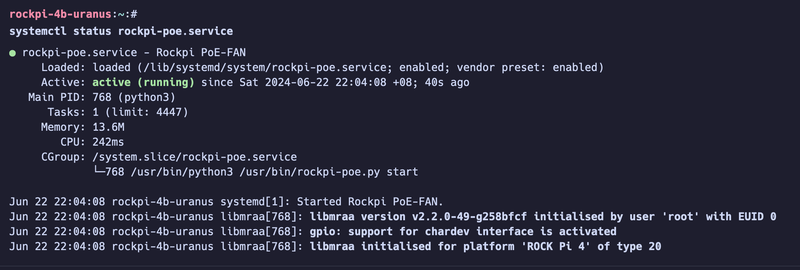
Checking Service Statuses
Before enabling networkd, confirm its status and ensure conflicting services like NetworkManager are disabled. Use the following commands:
Check if
systemd-networkdis active:systemctl is-active systemd-networkdCheck if
NetworkManageris active:systemctl is-active NetworkManager
Enabling networkd
To enable systemd-networkd, follow these steps:
If the service is masked, you will encounter an error when trying to enable it:
Failed to enable unit: Unit file /etc/systemd/system/systemd-networkd.service is masked.Unmask the service with:
systemctl unmask systemd-networkdEnable the service to start automatically on boot:
systemctl enable systemd-networkdThen, start the service:
systemctl start systemd-networkd
Netplan Сonfiguration
DHCP Configuration
This example enables DHCP for all Ethernet interfaces that match e*:
network:
  version: 2
  renderer: networkd
  ethernets:
    all-eth-interfaces:
      match:
        name: "e*"
      dhcp4: true
      dhcp6: true
Static IP Configuration
This example sets a static IP address 192.168.1.10 on interface end0, with custom DNS, gateway, and MAC address:
network:
  version: 2
  renderer: networkd
  ethernets:
    end0:
      addresses:
        - "192.168.1.10/24"
      nameservers:
        addresses:
          - 192.168.1.1
      routes:
        - to: "0.0.0.0/0"
          via: "192.168.1.1"
          metric: 200
      dhcp4: false
      dhcp6: false
      macaddress: "36:01:db:86:43:d7"
Save the configuration file under /etc/netplan/, then apply it using:
netplan apply
Disabling NetworkManager
To avoid conflicts, disable NetworkManager if it is currently managing the network. Run the following command to stop and disable it in one step:
systemctl disable NetworkManager --now
SSH Key Configuration
Enable password-less login:
ssh-copy-id -i ~/.ssh/<keyfile> user@<host>
Enabling ZRAM for Better Performance
ZRAM can improve performance on limited-memory devices:
Install the ZRAM configuration utility:
apt install zram-toolsConfigure
/etc/default/zramswap:PERCENTAGE=50Restart the service:
systemctl restart zramswap
Setting Up Docker
Install Docker:
curl -fsSL https://get.docker.com | shAdd your user to the
dockergroup:usermod -aG docker <username>Verify installation:
docker run hello-world
Setting Up Tailscale
Simplify networking with Tailscale:
Install Tailscale:
curl -fsSL https://tailscale.com/install.sh | shActivate Tailscale:
tailscale up